Over time you may face fraying and loose wefts; you can repair your wig by restitching wefts, reinforcing the cap, avoiding heat damage, and using medical-grade adhesive for secure attachment to preserve styling and safety.
Key Takeaways:
- Inspect wig for damage: check cap, wefts, lace, and hairline to determine repair steps.
- Use correct tools and adhesives: select glue, wig tape, or sewing supplies compatible with the wig type and test on an inconspicuous area.
- Replace or resew wefts and re-knot shedding strands to restore density and prevent further loss.
- Repair lace and hairline by applying lace patches, trimming excess material, and using color-matching concealer for a natural finish.
- Style and maintain gently: use low heat where recommended, detangle with a wide-tooth comb, and store on a stand to preserve shape.
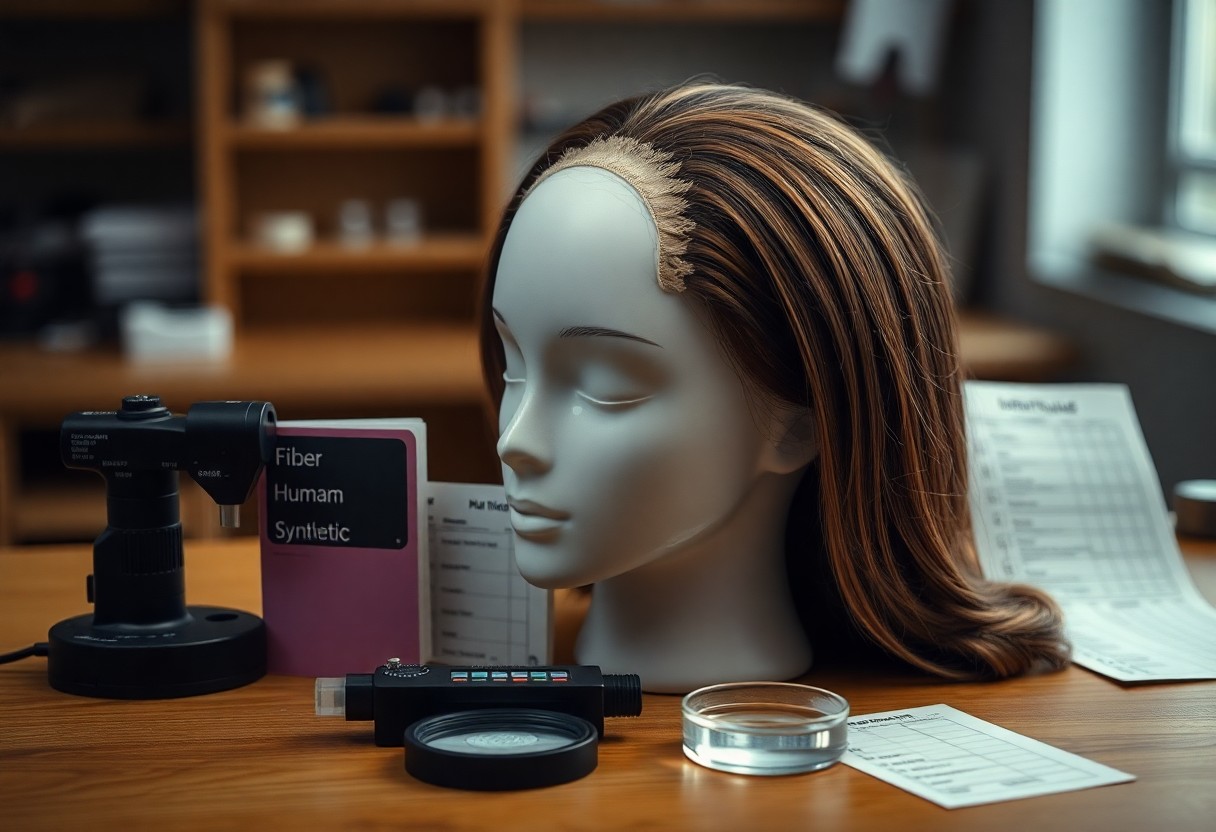
Initial Assessment: Evaluating Damage and Fiber Type
You inspect the cap, lace, wefts and fibers to gauge damage and identify fiber type, noting that synthetic fibers will melt with heat while human hair tolerates styling and can often be restyled. You also check the base for stretched elastic, lifted knots, and thinning density to judge whether a repair or replacement is more economical.
Identifying Common Structural Issues
Inspect the lace for tears and melted spots, the wefts for snapped stitching or split tracks, and the cap for stretched or frayed elastic. You should flag heavy shedding, widened parting, and detached combs as signs that the wig needs immediate structural work or professional intervention.
Determining Repair Feasibility
Assess whether damage is localized, whether the fiber type matches available repair materials, and whether the base still holds structure; localized weft or lace repairs are often cost-effective, while widespread base degradation often tips toward replacement. You should balance repair time, cost, and expected lifespan when deciding.
Consider testing a small repair-match a spare weft or lace patch and perform a tension and heat test on an inconspicuous area; if the patch holds and color blends, the wig is likely repairable. You should opt for a professional rebuild when you encounter extensive shedding, warped cap shape, or fused synthetic fibers, as attempted DIY fixes can worsen damage.
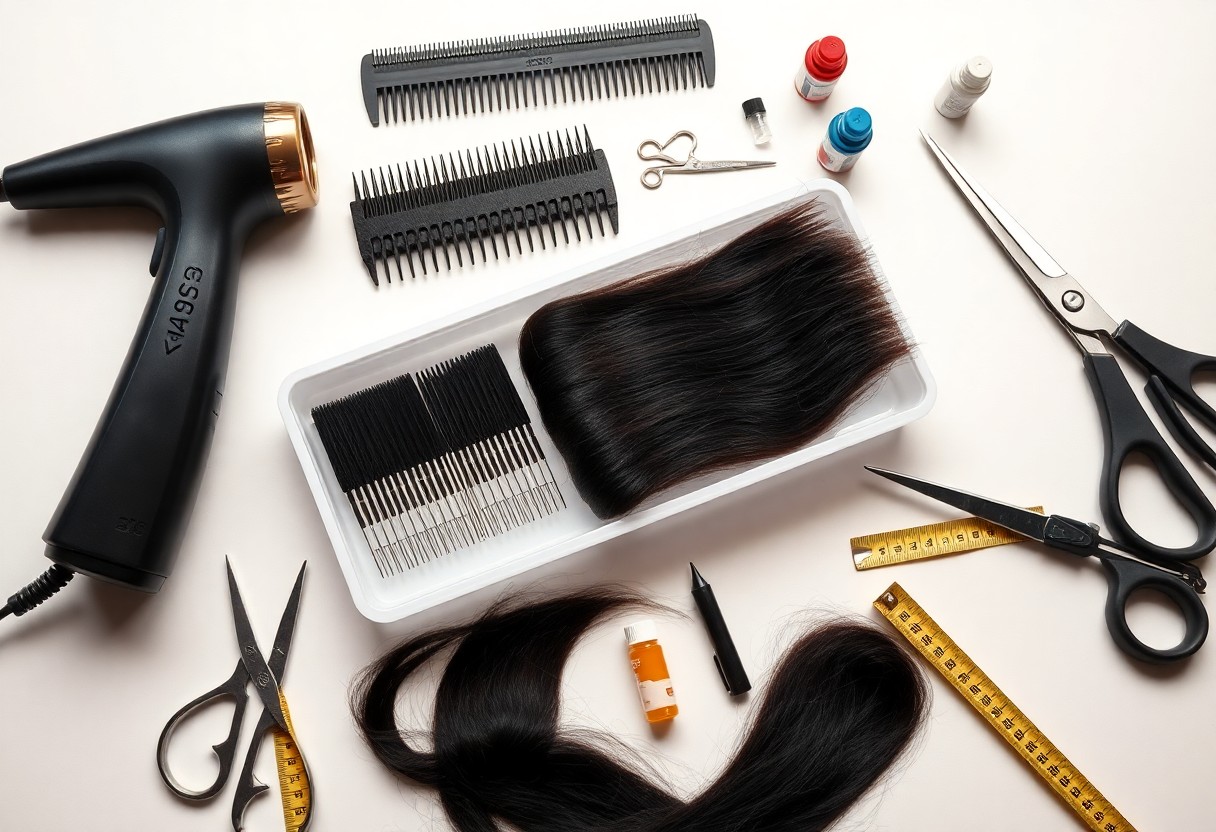
Essential Toolkit for Wig Restoration
Your kit should include a sturdy wig stand, a variety of combs, precision scissors, fine needles, and a selection of tapes and glues. Ensure good ventilation and pack a first-aid kit for sharp blades risks; these items deliver professional results when you use them correctly.
Professional Grade Adhesives and Sealants
Choose high-grade lace adhesives and medical-grade sealants; pick water-based for removability or solvent-based for stronger hold. Test a patch and use gloves because many formulas are flammable and can be a skin irritant. Proper application gives you a long-lasting hold without damage.
Specialized Brushes and Steaming Equipment
Invest in wide-tooth combs, boar-bristle brushes, and a fine-tooth teasing tool for knot work. Add a handheld steamer with adjustable settings to reshape fibers; keep settings low to avoid singeing. Steam can restore shape quickly but be careful to avoid overheating.
Always test steam on an inconspicuous section and hold the steamer several inches away; never press hot elements onto lace fronts. Use low heat and gentle, repeated passes with a soft brush to smooth fibers for a natural finish and do not touch lace with hot steam.
Advanced Detangling and De-frizzing Methods
Start by working from the tips to the roots, gently loosening knots with your fingers before using a wide-tooth comb; do not pull or you will stretch fibers and cause shedding. Spray a detangler suited to the fiber type so you can glide through tangles without forcing the hair.
- Finger-detangle major knots
- Mist lightly with detangler or diluted conditioner
- Comb ends first, then mid-lengths
- Finish with a soft brush or light serum
Detangling Tools & Tips
| Tool | Tip |
|---|---|
| Wide-tooth comb | Work from ends; avoid yanking |
| Detangling spray | Silicone-free for human hair; use sparingly on synthetics |
| Boar-bristle brush | Use only on human hair to distribute natural oils |
Apply lightweight serums to tame frizz on human hair and choose alcohol-free products so you do not dry fibers; avoid heavy oils on synthetic wigs because they attract lint and weigh the hair down.
Heat Styling Techniques for Synthetic Fibers
Carefully test a hidden weft before applying heat, using a low-temperature tool or a steam method recommended by the manufacturer; synthetic fibers can melt at high temperatures, so you must not exceed the product’s specified limit and should use heat-friendly fibers when possible.
Deep Conditioning Treatments for Human Hair
Soak the cap or apply a generous deep-conditioning mask, allowing the formula to penetrate under a warm towel for 20-30 minutes to rebuild elasticity; longer, gentle heat boosts absorption.
Choose protein-rich masks sparingly when hair shows weakness, alternating with moisturizing treatments so you avoid stiffness; over-proteinising can cause brittleness, so monitor how the hair responds after each treatment.
Leave-in conditioners can be used daily to keep strands soft, and you should perform a weekly hot-oil or steam treatment for deeper replenishment-always rinse with cool water to seal cuticles and lock in moisture.
Structural Mending: Cap and Lace Repair
Cap repairs start by assessing tears and stretched elastics; you should use a fine needle and matching thread to stitch from the inside to preserve appearance. Avoid using excessive heat or adhesive near thin lace as it can melt or discolour.
Refer to How to Make a Human Hair Wig Soft Again | Revive a Wig for conditioning after repairs so you can restore softness and manageability once structural work is complete.
Sewing and Patching Foundation Tears
Sewing small tears with a curved needle and waxed thread prevents further fraying; you should work in tight, even stitches from the cap interior to hide joins and maintain shape.
Patch larger holes with matching netting and a dab of flexible glue; you should test adhesive on a scrap to avoid staining or stiffening the lace.
Re-knotting and Ventilating Thinned Areas
Re-knotting thinned spots requires a ventilating needle and patience; you should tie secure but small knots to mimic original density and movement and use care with the sharp needle to avoid injury or fabric damage.
Replace single knots only where hair loss concentrates, and you should match angle and direction to keep a natural fall; overknotting creates bulk and an unnatural look.
Practice on a scrap cap first so you can refine knot size and tension; you should secure knots with a tiny drop of thin adhesive and trim excess thread for longevity while avoiding strong solvents.
Revitalizing Color and Texture
Revitalize your wig’s color and texture by addressing faded pigment and surface dryness promptly, and you should pair gentle cleansers with fiber-specific treatments for best results. Test dyes on a hidden weft to avoid irreversible color mistakes and prevent damage from harsh chemicals.
Assess the fiber type before any repair so you can choose proper toners and conditioners, and you must avoid high heat on synthetic fibers while using professional-grade products on human hair. Identify fiber type to prevent repairs that could worsen the piece.
Toning and Pigment Refreshing Strategies
Use color-depositing conditioners or diluted demi-permanent dyes to refresh tones, and you should always perform a strand test to judge uptake and timing. Perform a strand test to avoid uneven results and fiber stress.
Test on an inconspicuous weft and observe results under natural light so you can correct warmth with cool toners as needed, and you should limit processing time to protect fibers. Avoid strong developers on synthetics to prevent melting or stiffness.
Restoring Original Luster and Softness
Protect the fiber by washing in cool water with a gentle, sulfate-free shampoo and you should detangle while wet to minimize breakage. Use cool water and gentle handling to preserve sheen and strand integrity.
Apply a lightweight leave-in conditioner formulated for your fiber type and you should air-dry on a wig stand while brushing gently with a wide-tooth comb to restore softness. Air-dry on a wig stand to maintain shape and bounce.
Finish styling with a gentle wide-tooth comb and use low heat only on heat-safe wigs, because you should never apply direct high heat to standard synthetics as direct high heat can melt them.
Proactive Maintenance for Maximum Longevity
You can extend the lifespan of fragile wigs by scheduling routine inspections and gentle spot repairs; regular inspections catch loose wefts and thinning areas early. See professional guidance at Expert Wig Repairs: Extend the Life of Your Favorite Wig to help preserve texture and fit.
Inspect your wig frequently for fraying, stretched caps, or weakened lace and address issues before they worsen to avoid costly replacements.
Optimal Storage and Handling Practices
Store your wigs on breathable stands away from direct sunlight and heat, use a silk or satin cover, and do not fold to prevent kinks and fiber damage.
Establishing a Professional Wash Cycle
Follow a gentle schedule based on how often you wear each piece-weekly for daily use, monthly for occasional wear-and always choose sulfate-free, low-alkaline shampoos recommended for wig fibers.
Allow the conditioner to sit on mid-lengths and ends while you gently detangle, then blot dry and air-dry on a wig stand to maintain shape; do not wring or apply high heat.
To wrap up
Drawing together expert tips helps you restore texture, mend wefts, and refresh color using gentle techniques and proper tools.
You should inspect regularly, secure loose strands with fine needles, deep-condition synthetic fibers sparingly, and seek a stylist for lace or structural repairs.
FAQ
Q: How do I assess the condition of a wig before attempting repairs?
A: Inspect the cap, lace, wefts, and hair fibers on a wig stand or mannequin head. Check for loose or detached wefts, torn lace, thinning at the hairline, excessive shedding, matted sections, and melted or burned fibers. Test a small hidden area with water and a mild cleanser to see how the fiber or human hair reacts to washing and heat. Photograph problem areas to plan steps and order supplies such as replacement lace, thread, needle, adhesive, and matching hair if needed.
Q: What are expert fixes for common problems like shedding, tangles, and split ends?
A: For shedding, secure loose wefts by resewing them with a curved wig needle and strong nylon thread or apply a thin line of clear fabric glue on the weft base. For tangles and matting, apply a detangling spray, soak in lukewarm water with a gentle conditioner, then finger-comb from tips to roots and finish with a wide-tooth comb; avoid harsh brushing on synthetic fibers. For split ends on human-hair wigs, trim the damaged ends with sharp shears and seal with a small amount of heat protectant before light styling. For synthetic fibers, remove irreparable ends and consider replacing sections with matching hair or using a needle-weft patch.
Q: How can I repair or replace a damaged lace front or frontal without ruining the hairline?
A: Remove old adhesive gently using a medical adhesive remover or 70% isopropyl alcohol, then wash and dry the lace. Patch small tears by placing a thin lace patch underneath the tear and bonding with clear lace adhesive or fabric glue, trimming excess. Replace a full lace frontal by removing the old piece, measuring and cutting a matching replacement, hand-sewing the new frontal onto the cap with ventilating knots or machine-sewing the perimeter, and tinting knots with diluted fabric dye or lace tint spray for a natural look. For finished hairlines, blend with baby hair created from trimmed wig strands and secure with a low-temp styling tool if dealing with human hair.
Q: What methods restore volumetric shape and secure wefts or machine-sewn tracks that have come loose?
A: Open the cap carefully to expose the problem weft area and restitch loose tracks using a curved needle and strong thread following the original track pattern. Reinforce the seam by sewing a thin strip of cotton or elastic along the weft base to strengthen future wear. To restore volume, apply steam from a handheld steamer to the cap and hair while styling on a mannequin head, use layering cuts to remove bulk, and add a light wig-specific mousse or root-lifting spray for human-hair units. Consider inserting small weft extensions sewn into the cap interior to replace lost density without redoing the entire wig.
Q: Which tools, supplies, and aftercare steps are recommended to keep a repaired wig looking its best?
A: Essential tools include a curved wig sewing needle, strong nylon or polyester thread, clear fabric glue, lace patches, wig adhesive remover, wig stand, wide-tooth comb, heat protectant, and matching replacement hair or wefts. Use sulfate-free shampoo and a silicone-free conditioner for human hair, and a gentle synthetic cleaner for man-made fibers. Air-dry on a wig stand and store in a breathable bag or box away from heat and direct sunlight. Schedule gentle maintenance every 4-8 wears: inspect stitches, trim stray fibers, refresh adhesive only where needed, and steam-style rather than using high-temperature irons on human-hair wigs to extend repair longevity.